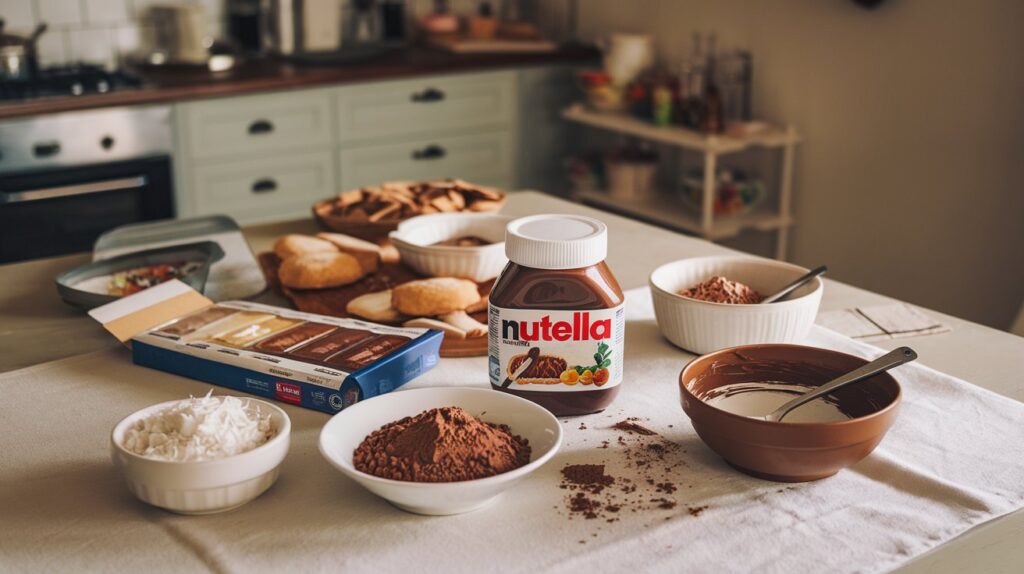
Nutella Truffles: The Decadent Treat You Can’t Resist
If you’ve ever dreamed of creating a dessert that’s both luxurious and easy to make, Nutella truffles are the perfect treat to indulge in. These bite-sized delights combine the creamy, irresistible flavor of Nutella with a smooth, melt-in-your-mouth texture that makes them an instant favorite. Whether you’re looking to surprise guests at a party, gift someone a sweet token, or simply treat yourself, Nutella truffles are guaranteed to impress. In this article, we’ll walk you through everything you need to know to create your own batch of Nutella truffles, including the ingredients, step-by-step instructions, and expert tips.
What Are Nutella Truffles?
Nutella truffles are a decadent, bite-sized treat that combines the rich, hazelnut-chocolate spread Nutella with a simple base of crushed biscuits or cookies. These truffles are coated in cocoa powder, crushed nuts, or melted chocolate, which adds texture and flavor to the creamy filling. The best part? They’re incredibly easy to make and require minimal ingredients, making them the ideal dessert for any occasion.
Truffles are traditionally made from chocolate ganache, but Nutella adds a creamy twist that takes this treat to the next level. Nutella’s smooth consistency and distinct hazelnut flavor make these truffles absolutely irresistible. Whether you’re a Nutella enthusiast or simply looking for a new indulgence, these truffles will satisfy your sweet cravings in the most delightful way.
Why Nutella Truffles Are the Ultimate Dessert
Perfect for Any Occasion
Nutella truffles are versatile and can be enjoyed during any season. They’re perfect for holiday gatherings, birthdays, or even just a casual treat for yourself. Whether you’re looking to wow your guests at a dinner party or bring a smile to someone’s face with a homemade gift, Nutella truffles are a guaranteed hit.
You can also customize them to suit various events. For example, add colorful sprinkles or holiday-themed coatings for a festive touch, or keep it elegant with a simple cocoa powder dusting. The possibilities are endless, making them the ultimate go-to treat for any celebration.
Irresistibly Easy to Make
One of the best things about Nutella truffles is how easy they are to prepare. With just a few ingredients and minimal prep time, you can make a batch of these delectable truffles in under an hour. Even if you’re not an experienced baker, you’ll find that these truffles are simple to whip up. This makes them an excellent choice when you need a dessert that’s both impressive and effortless.
Customizable and Fun
Nutella truffles are not only delicious but also highly customizable. You can experiment with different coatings, fillings, and flavors to create your own signature truffles. For example, you can roll them in crushed hazelnuts for a nutty crunch or dip them in melted white or dark chocolate for a glossy finish. You could even add a surprise filling, like a whole hazelnut or a dollop of caramel, to make your truffles even more indulgent.
Ingredients for Nutella Truffles
 Making Nutella truffles requires just a handful of simple ingredients, many of which you likely already have in your kitchen. Below is a table outlining the key ingredients for these rich and creamy truffles.
| Component | Ingredients |
|---|---|
| Base | 1 cup Nutella, 1 1/2 cups crushed biscuits or cookies (like digestive or graham crackers) |
| Coating Options | Cocoa powder, crushed hazelnuts, melted chocolate, shredded coconut |
With these basic ingredients, you can create the foundation for a rich, flavorful truffle. You can also choose from a variety of coatings to add texture and visual appeal.
How to Make Nutella Truffles
Creating Nutella truffles is a breeze and involves only a few simple steps. Follow the instructions below to craft your own batch of Nutella truffles:
Step 1: Gather Your Ingredients
Before you start, make sure you have all the necessary ingredients on hand. This includes Nutella, crushed biscuits or cookies, and your choice of coating. For the best results, use fresh Nutella, and choose high-quality cocoa powder or chocolate for the coating.
Step 2: Mix the Truffle Base
In a large bowl, combine the Nutella and crushed biscuits or cookies. Stir until a thick, dough-like consistency forms. The texture should be firm enough to roll into balls but soft enough to handle easily.
Step 3: Roll into Truffles
Once your truffle base is mixed, use a teaspoon or small cookie scoop to portion out the mixture. Roll each portion between your hands to form a ball. Try to make each truffle about the same size for even results.
Step 4: Add the Coating
Now comes the fun part! Roll each truffle in your desired coating. You can use cocoa powder for a simple, classic look or crushed hazelnuts for extra crunch. If you want to add a glossy finish, dip each truffle in melted chocolate and let the coating harden. For a tropical twist, roll the truffles in shredded coconut.
Step 5: Chill and Serve
Place the truffles on a tray lined with parchment paper and refrigerate them for at least 30 minutes to allow them to firm up. Once chilled, they are ready to serve! You can enjoy them right away or store them in an airtight container for later.
Pro Tips for Perfect Nutella Truffles
While Nutella truffles are easy to make, a few expert tips can help you take your truffles to the next level.
Choosing the Right Ingredients
Opt for fresh, high-quality Nutella for the best flavor. You’ll want to ensure the truffles have the signature Nutella taste, so using the best version of the spread is essential. When selecting cookies or biscuits for the base, you can use whatever you prefer, such as digestive biscuits, graham crackers, or even Oreos for a fun twist.
Making It Fancy
For a more sophisticated look, consider garnishing your Nutella truffles with edible gold dust or a drizzle of melted white chocolate. This adds a touch of elegance and makes your truffles perfect for gifting or serving at special occasions.
Storage and Shelf Life
Nutella truffles can be stored in an airtight container in the fridge for up to a week. If you want to make them ahead of time, you can freeze the truffles for up to a month. Just make sure to allow them to thaw for about 10 minutes before serving.
Frequently Asked Questions About Nutella Truffles
Can I Make Nutella Truffles Without Biscuits?
Yes! If you’re looking for a gluten-free alternative, you can substitute the crushed biscuits with finely chopped nuts, almond flour, or even coconut flour. This will still give you a firm base for your truffles without compromising the texture.
How Can I Prevent My Truffles from Being Too Sticky?
If you find the mixture too sticky to handle, refrigerate it for 15 to 20 minutes before rolling. This will help firm it up and make it easier to work with. You can also dust your hands with cocoa powder while rolling the truffles to reduce stickiness.
What Are Some Fun Variations for Nutella Truffles?
Nutella truffles are versatile, and you can get creative with fillings and coatings. Try adding a whole hazelnut in the center of each truffle for a crunchy surprise, or experiment with flavored coatings, like matcha powder, crushed pretzels, or freeze-dried berries. You can also try different fillings, such as caramel or peanut butter, for a fun twist.
Can I Use Homemade Nutella for This Recipe?
Absolutely! Homemade Nutella can be used in place of store-bought Nutella for a more personalized and fresh taste. Just ensure that the consistency is thick enough to form truffles. If needed, you can adjust the consistency by adding a bit more crushed cookies or biscuits.
Conclusion
Nutella truffles are a simple yet luxurious treat that everyone will love. Their creamy, chocolate-hazelnut flavor makes them irresistible, while their versatility allows you to customize them to your liking. Whether you’re preparing them for a special occasion or indulging in a sweet snack, Nutella truffles are the perfect choice.
Ready to indulge? Grab your ingredients and get started on making these delicious Nutella truffles today. Share your creations on social media, and don’t forget to tag us—we can’t wait to see your truffle masterpieces!

