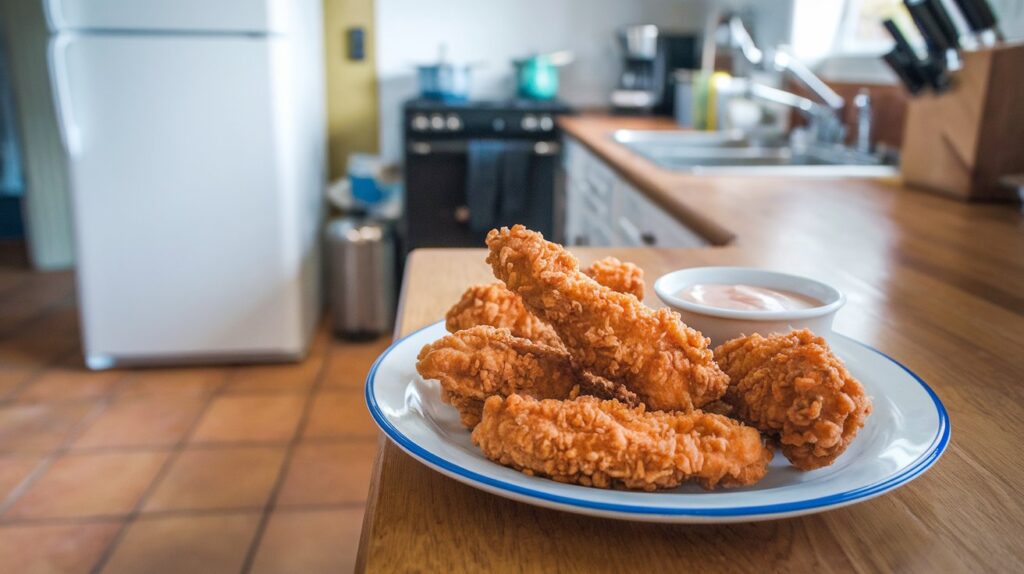
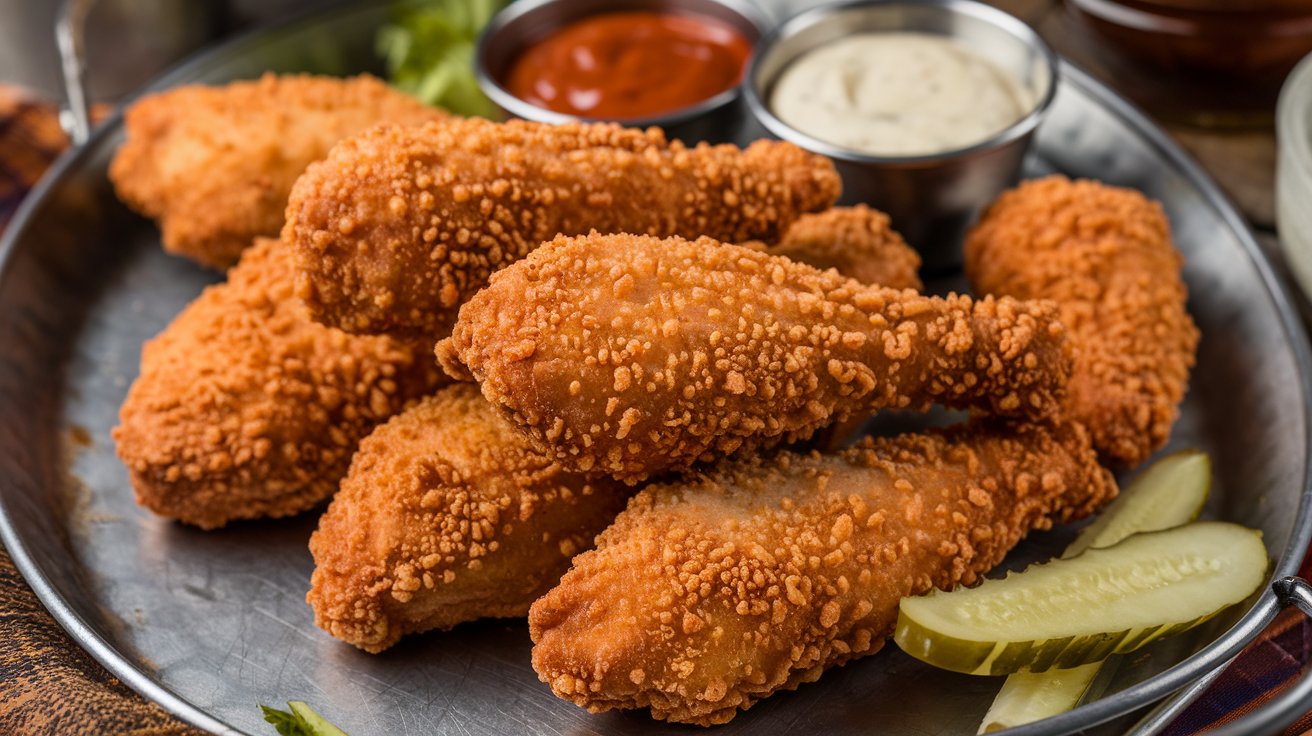
Crispy, Golden-Brown Chicken Tenders Marinated in Buttermilk
When it comes to making chicken tenders, marinating in buttermilk isn’t just a fancy step—it’s essential. The lactic acid in buttermilk tenderizes the meat, breaking down proteins and ensuring a juicy interior. It also acts as the perfect base for your seasoning to cling to, enhancing every bite with flavor.
If you’ve ever wondered how to achieve that melt-in-your-mouth texture without sacrificing crispiness, buttermilk is the answer. Plus, it’s incredibly versatile—you can customize the marinade with herbs, spices, or even a dash of hot sauce for a spicy kick.
Ingredients You’ll Need
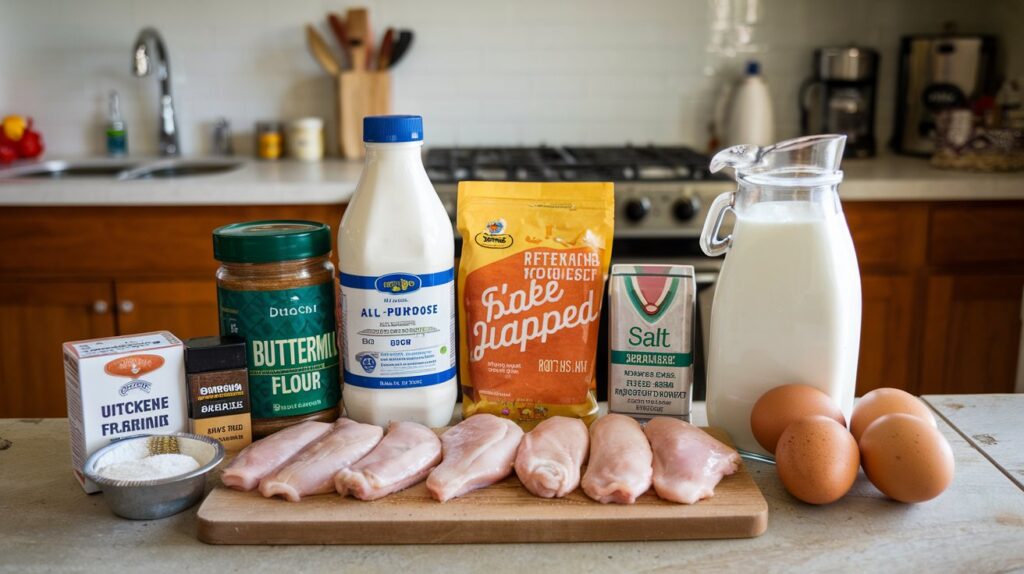
 Here’s what you’ll need to create the perfect crispy buttermilk chicken tenders:
| Ingredient | Amount | Purpose |
|---|---|---|
| Chicken tenders | 1.5 pounds | Main protein, can substitute with strips of chicken breast. |
| Buttermilk | 1 cup | Tenderizes the chicken and enhances flavor. |
| Hot sauce (optional) | 2 tsp | Adds a subtle heat to the marinade. |
| All-purpose flour | 1.5 cups | Forms the base of the crispy coating. |
| Cornstarch | 1/2 cup | Ensures maximum crunch. |
| Paprika | 1 tsp | Adds smoky depth and color. |
| Garlic powder | 1 tsp | Boosts the savory profile. |
| Onion powder | 1 tsp | Rounds out the seasoning blend. |
| Cayenne pepper (optional) | 1/4 tsp | For a spicy kick. |
| Salt | 1.5 tsp | Essential for balanced flavor. |
| Black pepper | 1 tsp | Adds a hint of sharpness. |
| Eggs | 2 large | Helps the coating adhere. |
| Milk | 2 tbsp | Thins the egg mixture slightly. |
| Vegetable oil | For frying | Choose a high-smoke-point oil like canola or peanut. |
Step-by-Step Guide to Crispy Perfection
1. Prepare Your Chicken
Start by patting the chicken tenders dry with a paper towel. This step ensures that the marinade clings properly to the meat.
In a bowl, combine the buttermilk and hot sauce (if using). Submerge the chicken tenders in the mixture, cover, and refrigerate for at least one hour. For the best results, let them marinate overnight.
Pro Tip: If you’re short on time, even a 30-minute soak can make a difference.
2. Mix the Coating
In a shallow dish, whisk together the flour, cornstarch, paprika, garlic powder, onion powder, cayenne pepper, salt, and black pepper. This blend of spices ensures that your chicken will be anything but bland.
In a separate bowl, whisk the eggs and milk together until smooth.
3. Coat the Chicken
Remove the chicken tenders from the buttermilk marinade, allowing the excess to drip off. Coat each piece in the seasoned flour mixture, dip it in the egg mixture, and then dredge it back in the flour.
For an extra-crispy crust, gently press the chicken into the flour mixture during the final dredge.
4. Heat the Oil
In a deep skillet or frying pan, heat about 2 inches of vegetable oil over medium-high heat. The oil should reach 350°F (175°C). If you don’t have a thermometer, test it by dropping a small piece of bread into the oil—it should sizzle immediately and turn golden within 30 seconds.
5. Fry the Chicken
Carefully lower the coated tenders into the hot oil, frying them in small batches to avoid overcrowding. Fry for about 3-4 minutes on each side, or until golden brown and cooked through.
Safety Tip: Use tongs to handle the chicken, and always keep a safe distance from the hot oil to avoid splatters.
6. Drain and Serve
Transfer the cooked tenders to a wire rack or a plate lined with paper towels. This step helps maintain their crispiness by preventing steam from making the coating soggy.
How to Serve Your Chicken Tenders
These chicken tenders are versatile and can be paired with almost anything. Here are some serving ideas:
- Classic Meal: Serve with French fries, coleslaw, and ketchup for a nostalgic touch.
- Healthier Option: Pair with a mixed greens salad and a tangy vinaigrette.
- Game Night Snack: Arrange on a platter with a variety of dipping sauces like ranch, honey mustard, or sriracha mayo.
Pro Tip: For an extra indulgent twist, drizzle with honey or maple syrup for a sweet-savory combination.
 Tips for Success
- Double Dredge: The secret to an extra-crispy coating is dredging the chicken twice in the flour mixture.
- Temperature Control: Consistent oil temperature is crucial. If the oil is too hot, the coating will burn before the chicken cooks through; too cool, and the tenders will absorb excess oil.
- Use a Rack: Draining fried chicken on a wire rack instead of paper towels keeps it crispy.
FAQs About Buttermilk Chicken Tenders
1. Can I bake these instead of frying?
Absolutely! Preheat your oven to 400°F (200°C). Place the coated tenders on a wire rack over a baking sheet, spray lightly with oil, and bake for 20-25 minutes, flipping halfway through.
2. What’s the best way to reheat leftovers?
To maintain crispiness, reheat the tenders in an oven or air fryer at 350°F for about 10 minutes. Avoid microwaving, as it can make the coating soggy.
3. Can I make these gluten-free?
Yes! Swap the all-purpose flour for a gluten-free flour blend, and make sure your cornstarch is gluten-free as well.
4. How do I make buttermilk at home?
If you don’t have buttermilk on hand, mix 1 cup of milk with 1 tablespoon of vinegar or lemon juice. Let it sit for 5 minutes before using.
Conclusion
There you have it—a foolproof recipe for crispy, golden-brown chicken tenders marinated in buttermilk. Whether you’re feeding a hungry crowd or treating yourself to comfort food, these tenders deliver on flavor, texture, and satisfaction. With this guide, you’re set to create a dish that’s guaranteed to impress.
Call-to-Action: “Ready to try this recipe? Share your results in the comments below! Don’t forget to pin this recipe for later or share it with your friends and family for their next gathering!”

